VMware vSphere 8 in a virtual machine on VMware workstation for a test enviroment
Creating a new Virtual machine as ESXI host
First of all, we create a new VM in VMware workstation, since my PC had no enough resources to install 2 ESXI and a vCenter, we created only a VM with the following configuration.
you can get the ISO for VMware vSphere 7 and 8 in the VMware website for free, but is the trial version.

And when the VM is created, we proceed to turn it on and wait for the installation finished.

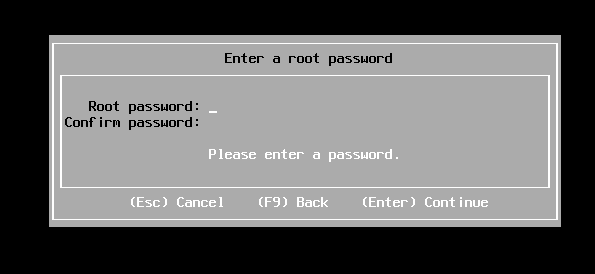
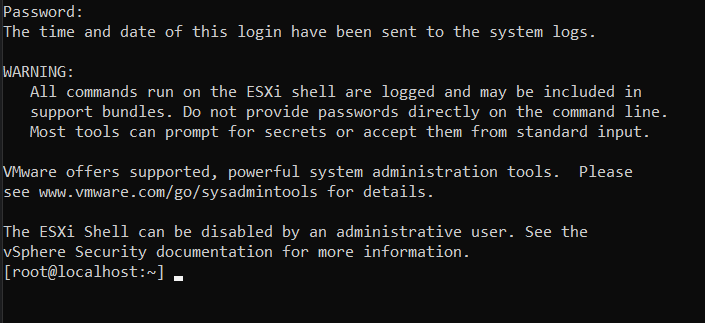
Once installed, we need to confirm the settings and set up the root password.
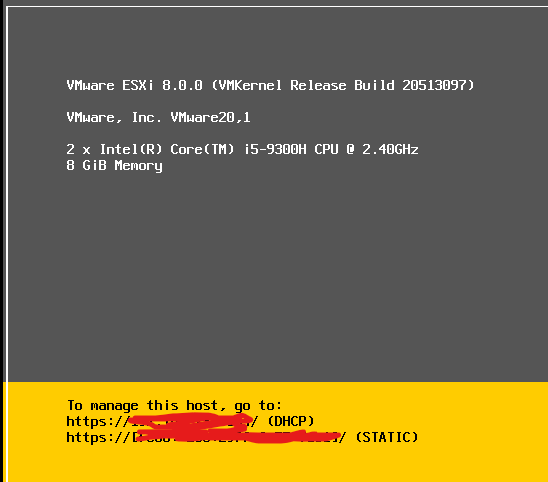
Once all the configuration is finished, it will require a reboot and when the server starts up again, it will show the IP to connect to the GUI, the user name will be root and the password will be the one we configured during the installation.
Once we type the URL in the web browser we will see the GUI, we type our credentials to login to the GUI and manage the ESXI server and create VM.

Setting up a static IP for the ESXI
Now, we need to set the IP to static to ensure the IP will be the same and after a reboot it will not change.
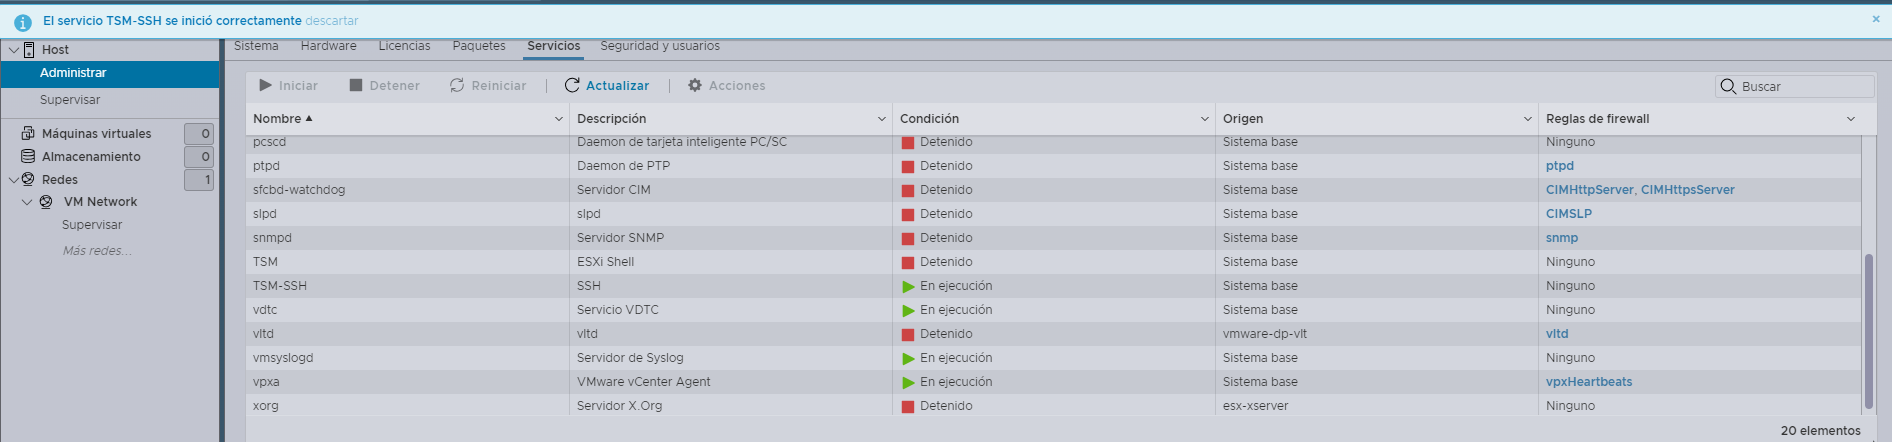
First we need to enable the SSH in the ESXI Services.
Then, we will login to the ESXI via SSH.
We just open a terminal (CMD, Powersher, Bash) and type the following command.
1
ssh root@ip-address
Now the password will be asked, we just type the password, these are the same credentials that we used to connect to the ESXI via the GUI.
We type the following command to get the information to change the IP address to static.
1
esxcli network ip route ipv4 list
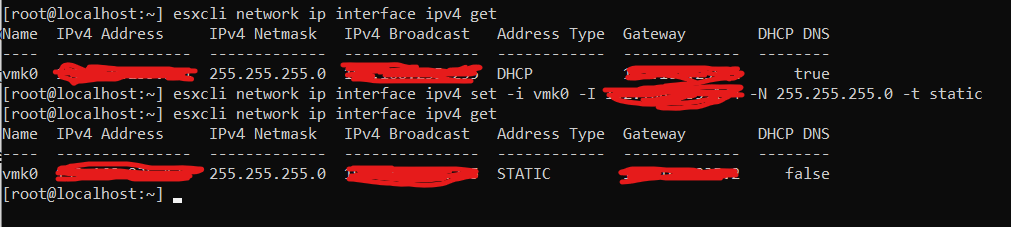
With the information displayed, we will need the “Interface”, “Netmask”. to change it in the following command.
1
esxcli network ip interface ipv4 set -i interface_name -I IP_address -N Netmask -t static
And with this, we had the IP static.
Disabling IPV6
To disable IPV6, we just need to type the following command and reboot the ESXI.
1
esxcli network ip set --ipv6-enabled=false
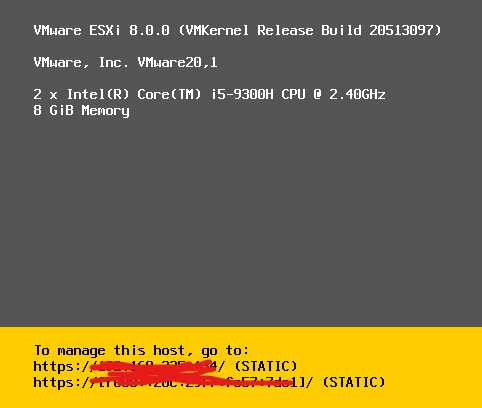
Once the ESXI is up again, we will see that only the IPV4 is visible.

Creating data stores
For some reason, ESXI does not create a datastore where we can store files or use it to create virtual disks for virtual machines, this can be configured during installation by modifying certain thresholds in the boot menu.
Now our ESXI host has the 60gb for the OS, so we will add two more disks.
One for the files as ISOs and one for the virtual disks for the VMs.
Adding extra disk to the VM in VMware workstation.
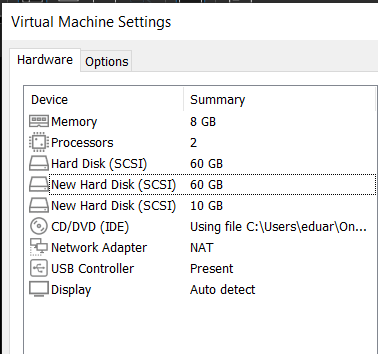
We need to go to the VM and click on “Edit virtual machine settings”, then, we will see the hardware listed. Click on the “Add” button and select hard disk, After that, specify the capacity for this new disk. We will create two new disks.
- One for the ISOs and will assign 10gb.
- A second one for the virtual disk. For this example, we will create it with 60gb.
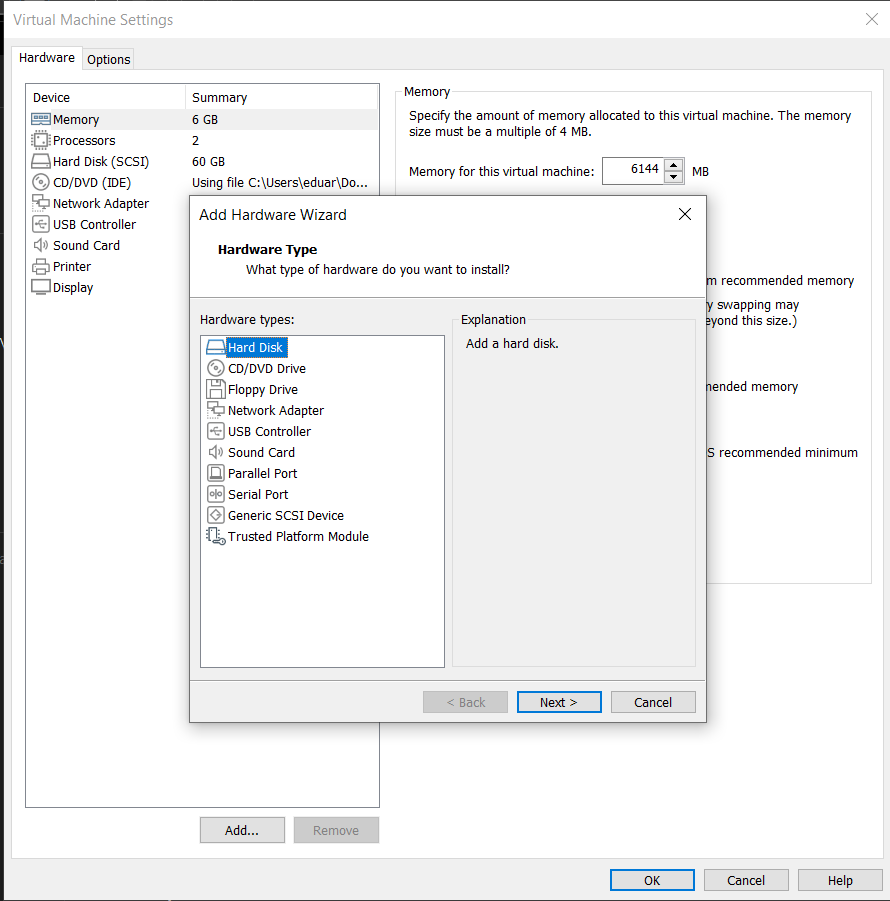
Will look like this:
And will restart the ESXI host.
Creating data store for files and virtual disks
Then, when we are login to the ESXI again, we will create a new data stores.
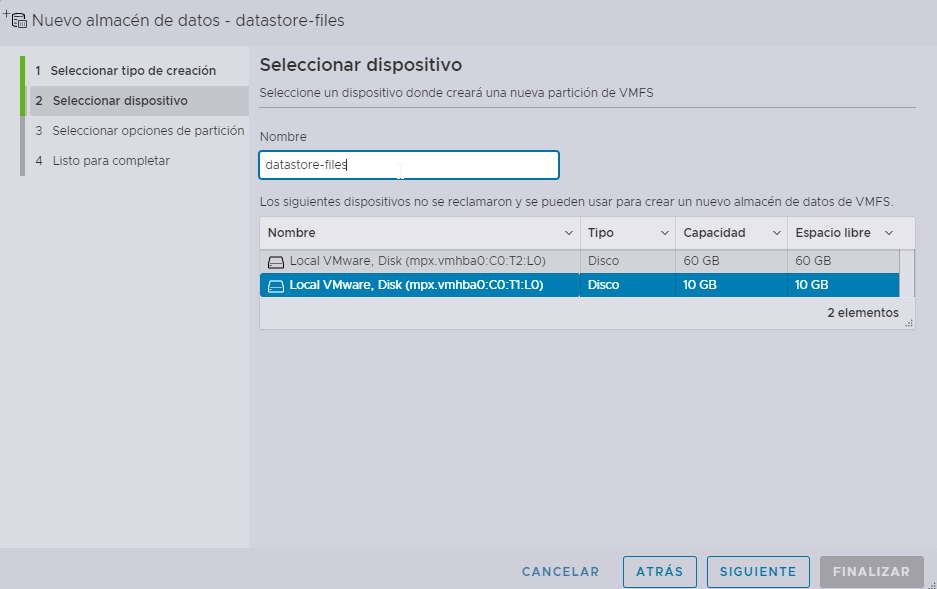
We click on Storage > New data store and select New data store.

And will select the disk with 10gb for this.
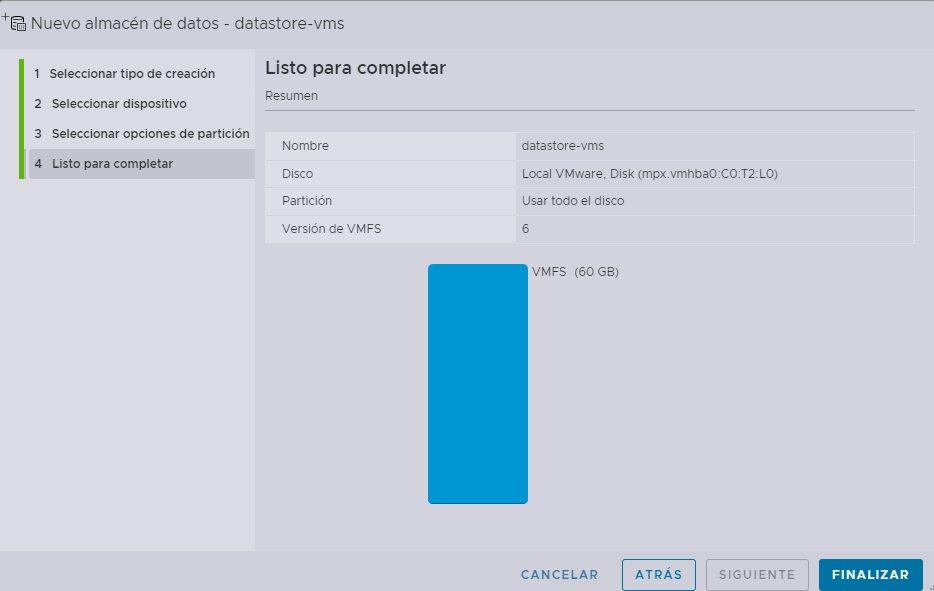
And finally we click on finish.

And we will do it again but in this case with the disk with 60gb for the virtual disks.
Finally in our GUI will look like this.

Creating a VM
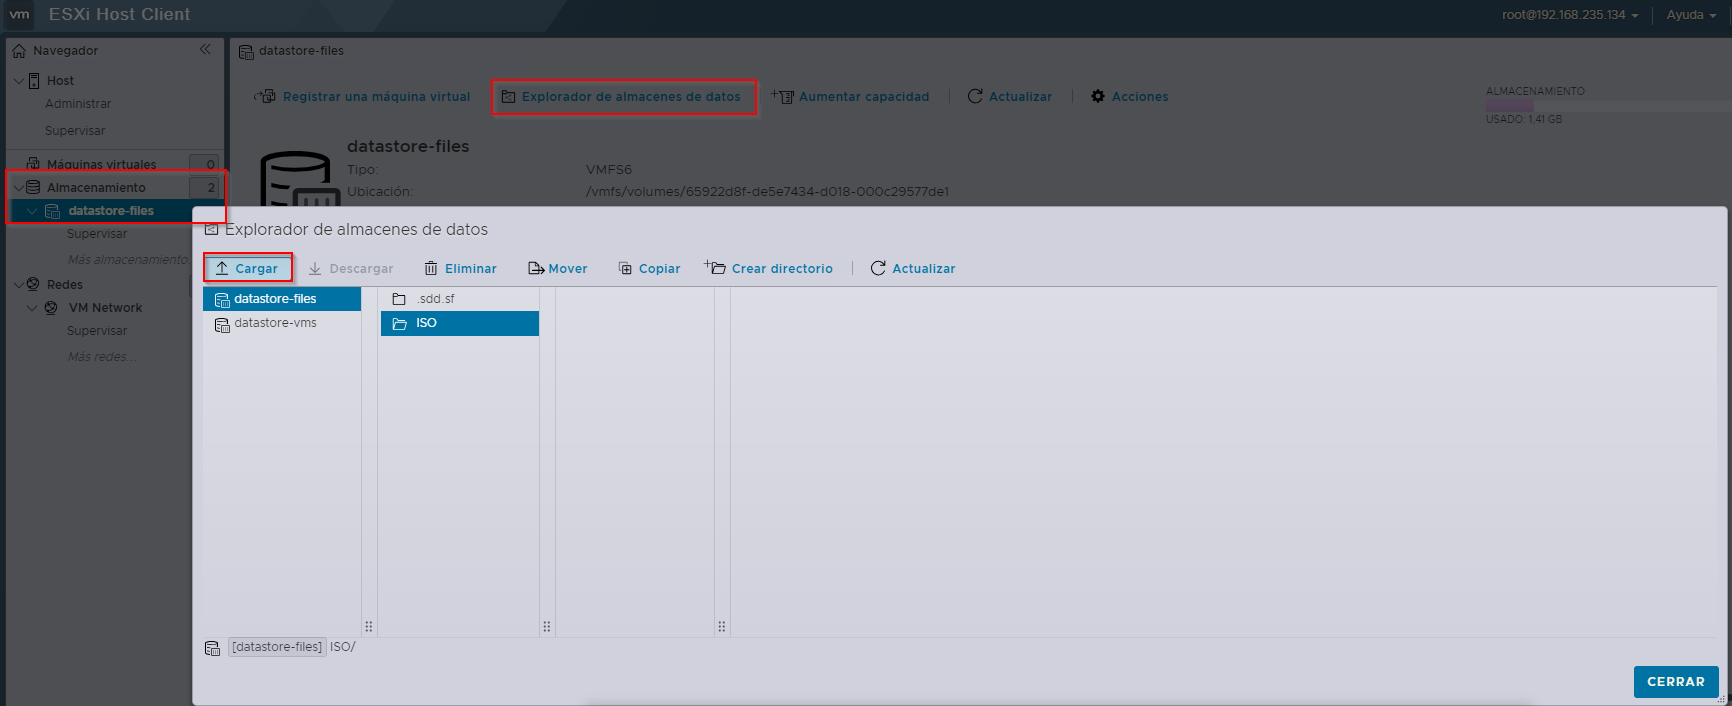
Uploading a ISO to create a new VM.
We will go to the datastore that we have created for files and upload an ISO, this can be linux or windows, depending on your resources.
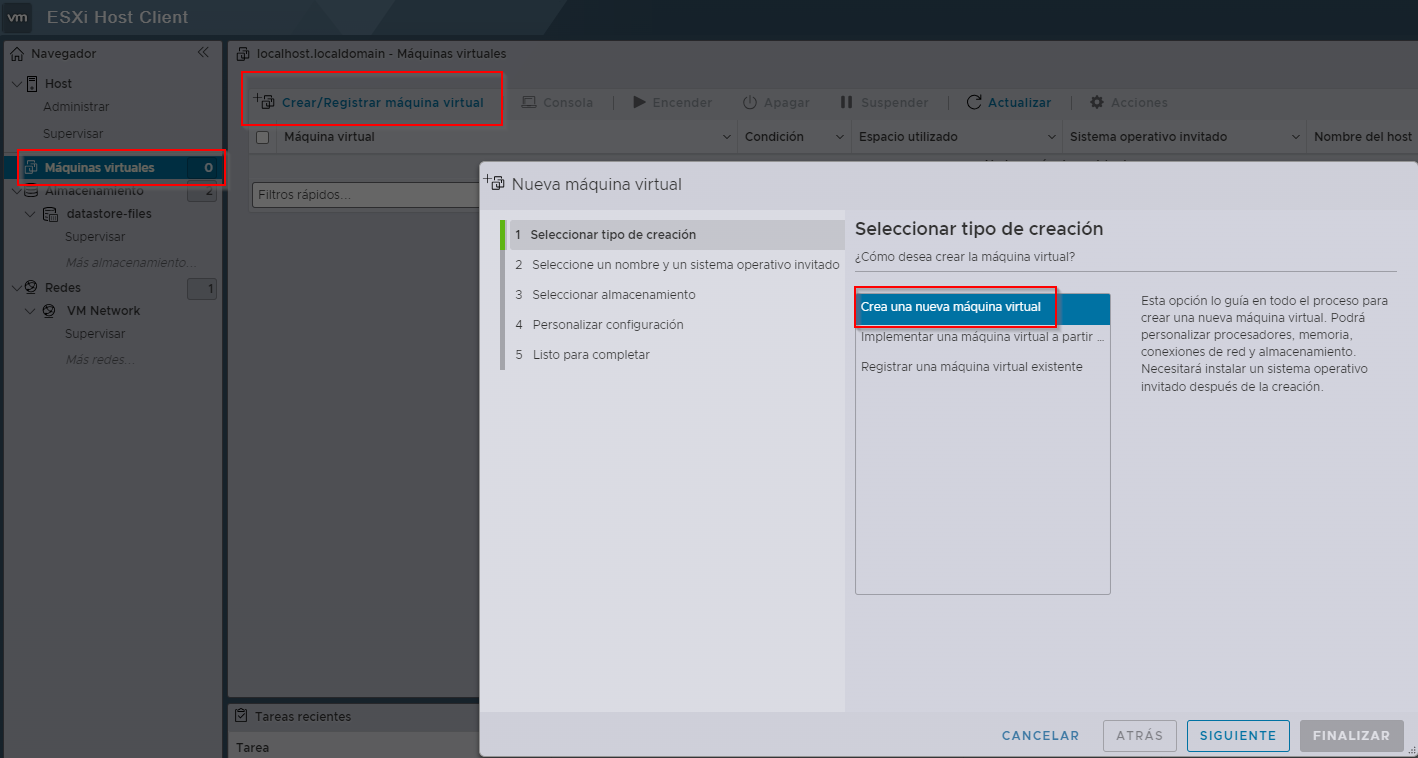
Creating a new VM
Once the ISO was uploaded to the datastore, we will go to Virtual machines > click “Create virtual machine” and will create the VM.
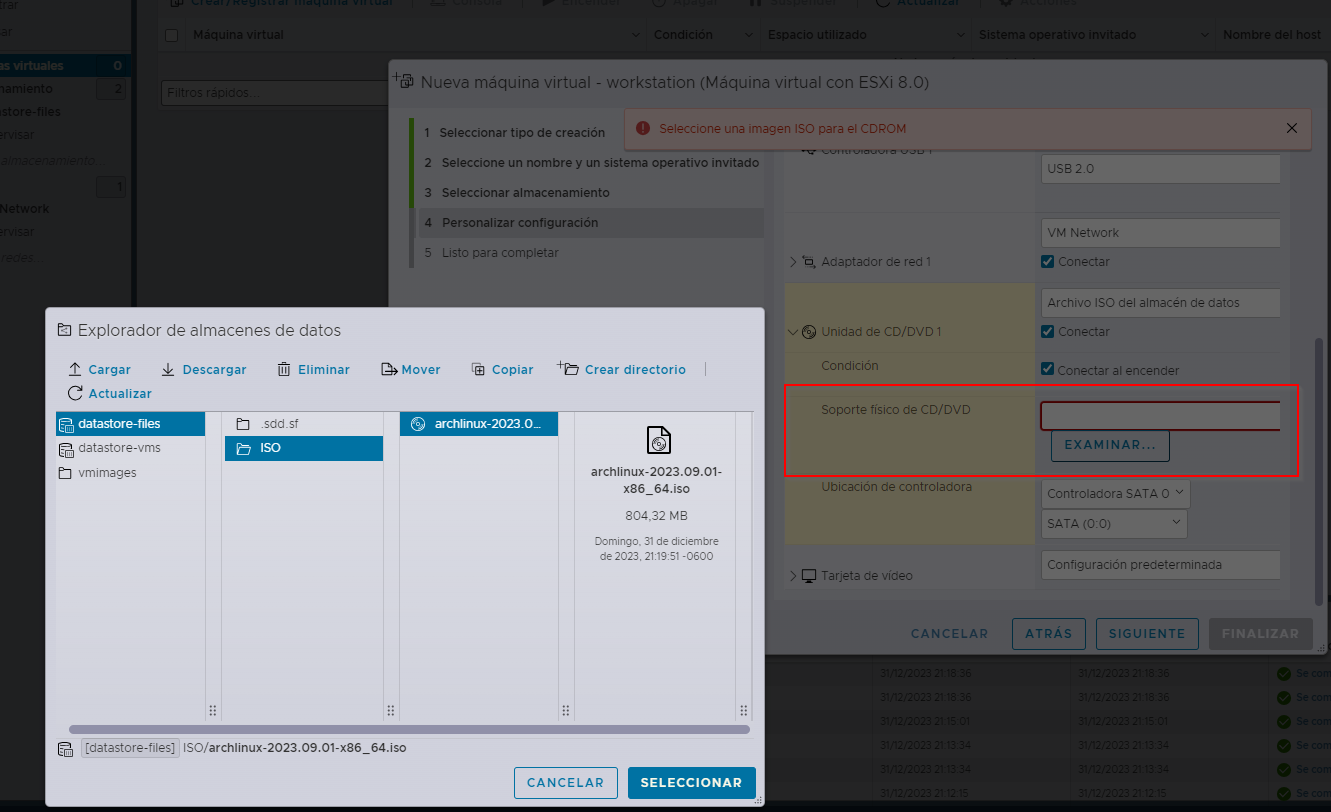
Once we are in the “Customize setting” in the CD/DVD we will search our ISO stored in the data store.
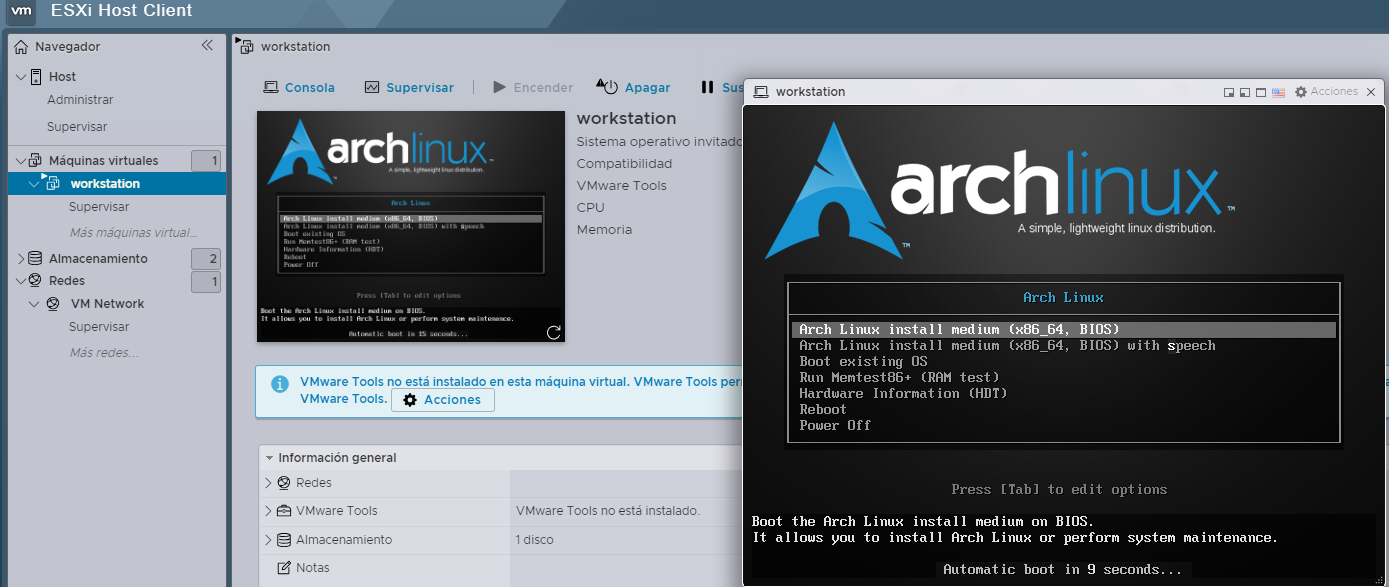
Finally, we will click on finish and wait for the VM to be created to turn it on.
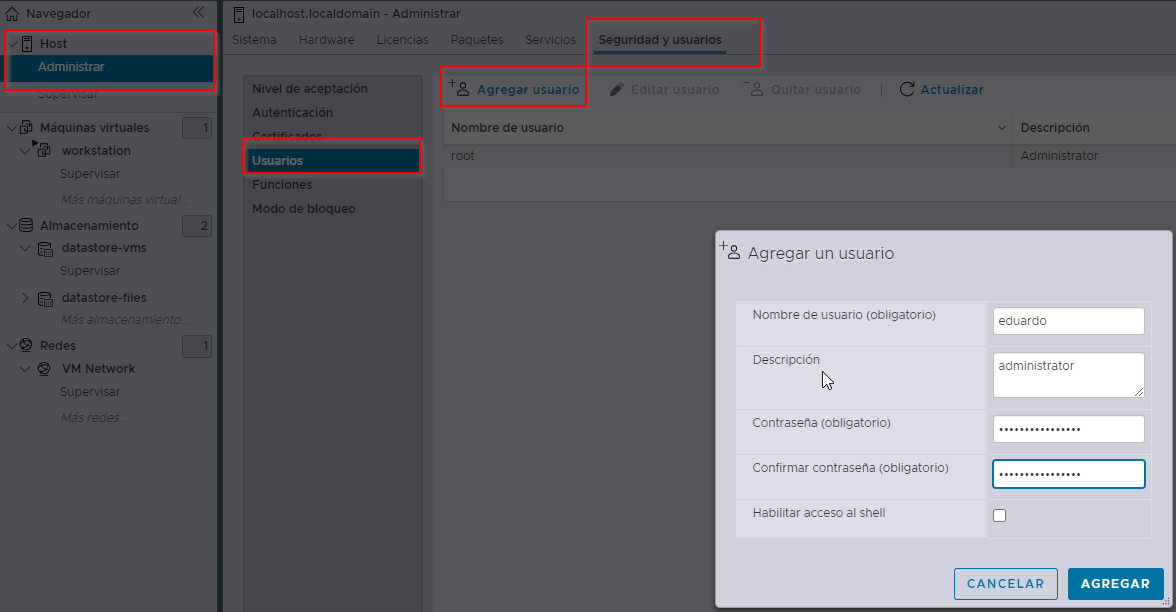
Creating users
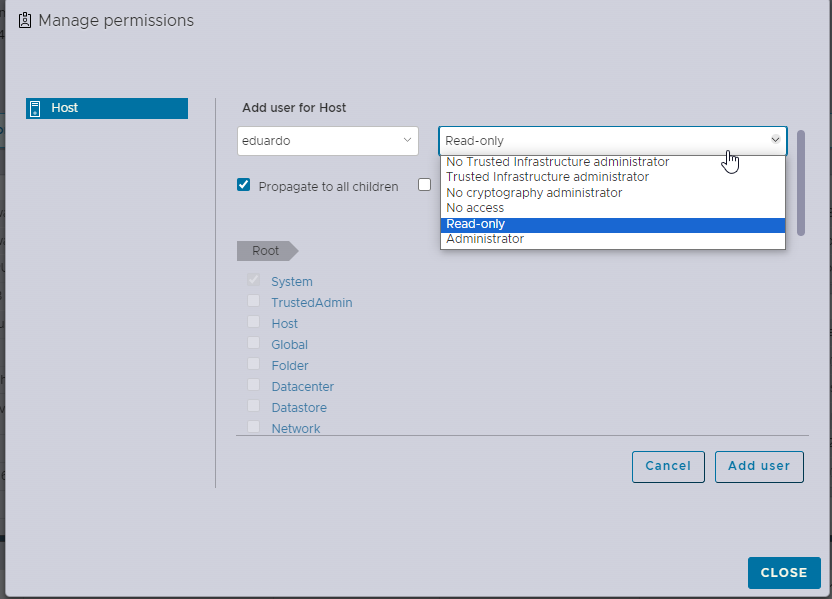
We can also create accounts for users to manage the resources with full administrator access, read-only access, network privileges only, or accounts to schedule tasks such as monitoring or backups.
Once we have created the user, we will go to the host and click on “Actions” and then on permissions.
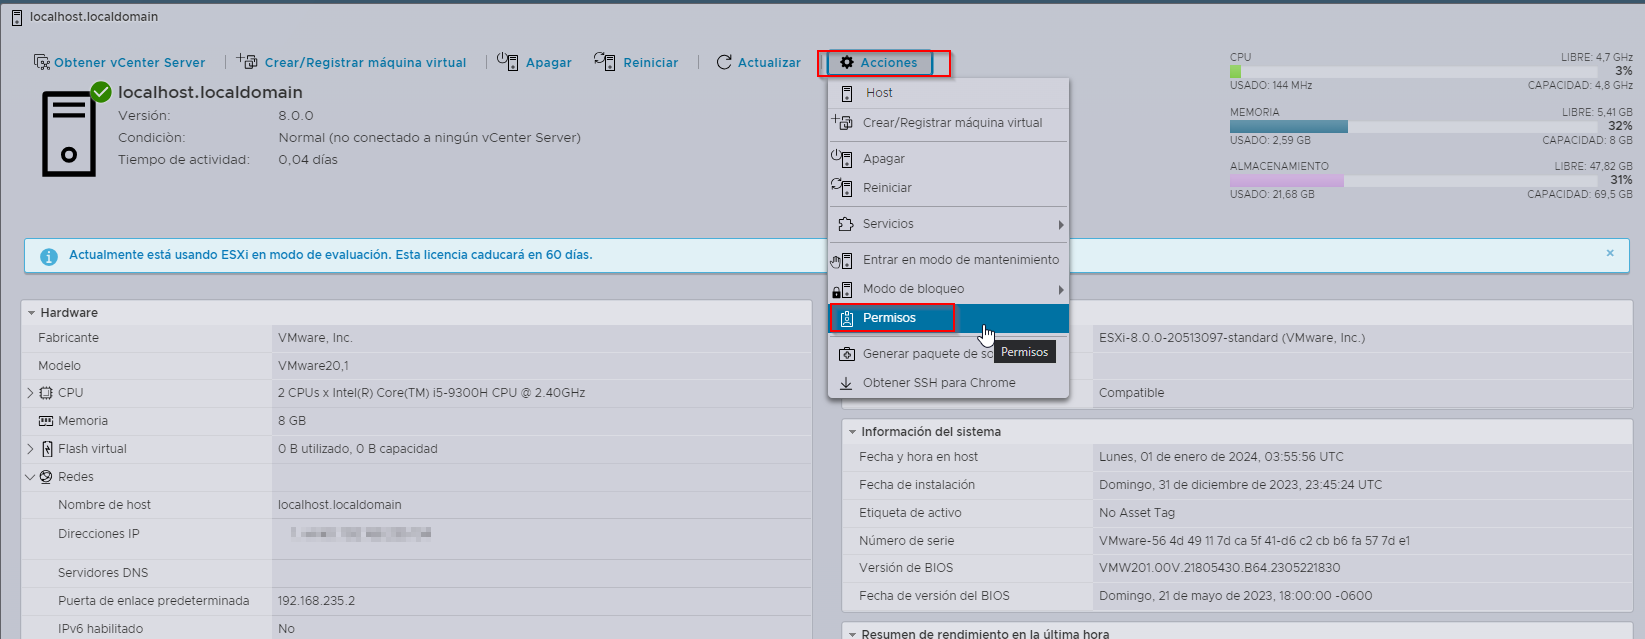
We will add the new user and assign the permissions that the user will need.
Finally, we will select the role and we will see listed the permissions that the role allow to the user, we will click on add user and the user will be added.