Creating a swapfile for a linux VM.
Creating a swapfile for a linux VM
Checking our Swap partition.
First of all, we must check if we have a swap partition, in most cases when we install an operating system, the installation wizard will ask us how much disk we want to assign to the swap partition, but in case we are not asked or we want to resize the swap, we can do it.
So, to check our swap partition, this two commands will help us.
1
free -h
1
swapon --show
In this example, I have a partition for swap but it is not applied since it is not in the fstab, so I will create a swapfile to learn how to create a swap and at the end I will delete it and assign the partition I have created for swap.
So, this image will help us to make a comparison with the final result at the end of this blog.

Creating the swap file
We have to move to the root “/”
1
cd /
Then we will create a special file for the swap memory using the command:
1
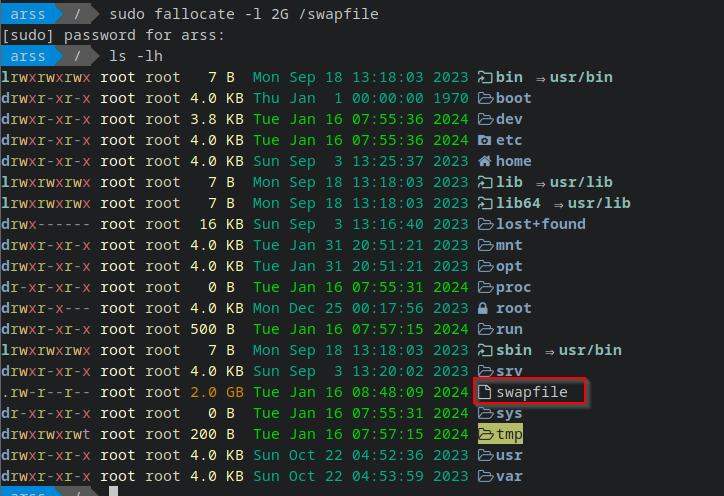
sudo fallocate -l 2G /swapfile
The command sudo fallocate -l 2G /swapfile is used to create a swap file on Linux systems. Here’s an explanation of each part of the command:
sudo: It’s a prefix used to execute the command with superuser privileges. This is necessary because creating files in certain directories and configurations requires elevated permissions.fallocate: It’s a command used to preallocate blocks of disk space to a file. In this case, it’s used to allocate disk space for the swap file.-l 2G: This argument indicates the size of the swap file. In this example, a 2-gigabyte swap file is being created. You can adjust the value according to your needs. The “G” stands for gigabytes, but you could also use “M” for megabytes, “K” for kilobytes, etc./swapfile: It’s the name and path of the swap file being created. In this case, the file is being created in the root directory of the system (/). You can specify a different path if you prefer.
Now if we list the content of the root path, we will be able to see the file that we have created.
Setting up the permissions
To ensure that just the user who created this file can read and write this file, we need to change the permission with the command:
1
sudo chmod 600 /swapfile
Setting up the swapfile
Now we need to run the next command to make this file our Swap.
1
sudo mkswap /swapfile

Every time we reboot the machine, the file partition will be lost, and we will need to execute the above command to set up the swap in order to avoid that. We will edit the file ‘fstab’.
1
2
#Whit this command we will edit the fstab file
sudo nano /etc/fstab
We will add the path for the swap file.

The two last digits are related to dump and pass. For dump if we put 0 this will not be backed up with the command up For pass, if we put 1, when the OS start, will made validations about the disk state if we put 0, OS will not validate the status. Since this is the swap is not needed to backup or validate status.
Finally will run the command 
To validate the change was implemented we can run again “free -h” or “swapon –show” 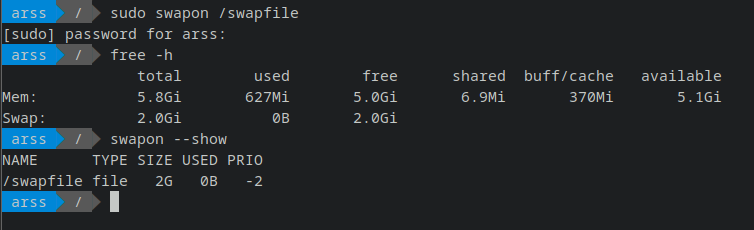
Final validation will be reboot the machine and check the swap partition still configured. 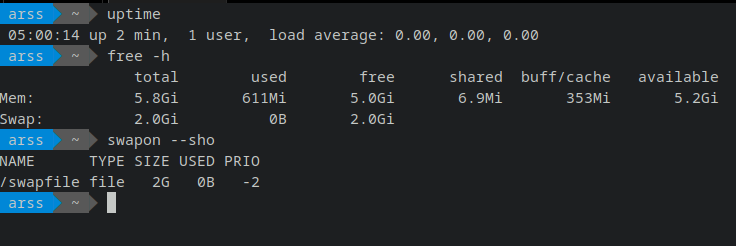
Delete the swapfile
- Disable the swap with the following command.
1
sudo swapoff /swapfile - Delete the swapfile.
1
sudo rm /swapfile - Finally delete the line added in the fstab